In modern time, programming is becoming very popular, more and more students are going to study as developers-programmers. Arduino — a hardware computing platform that consists of two main components: input and output, and the development environment in the language Processing/ Wiring. Arduino is useful for the development of electronic devices for both beginners and professionals. This platform is very popular all over the world due to its simple programming language, open architecture and program code. The peculiarity of this platform is that it is programmed without the use of programmers via USB. With the help of Arduino, a computer can go beyond the virtual world into the physical, because of the many sensors that can be connected to the board. The sensors can receive information about the environment, as well as control various actuators. «It is no wonder that Arduino literally translates to «Strong friend (masculine)" in Italian. Anything is possible with the mighty power of Arduino. It's compact, it's straightforward, and makes embedding electronics into the world-at-large fun and easy» [1].
The subject of the study is the capabilities of the programming environment of the Arduino platform and the creation of a device designed to track the distance between a car and some object, called a parking aid sensor, parking sensors or parktronic.
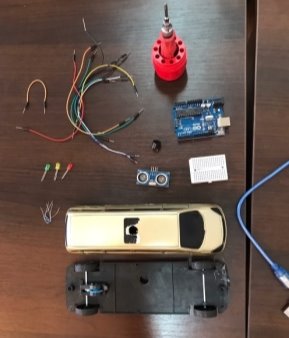
To implement this project, the following components are required: 1 Arduino Uno; 1 ultrasonic distance measurement (HC-SR04); 3 LEDs; 6 220Ω resistors; jumpers wires of 150 mm with a male connectors on the ends; 1 piezo speaker; 1 breadboard assembly for 200 contacts; 1car model.
Preparation for work is shown in Figure 1.

Fig. 1. The required set of components
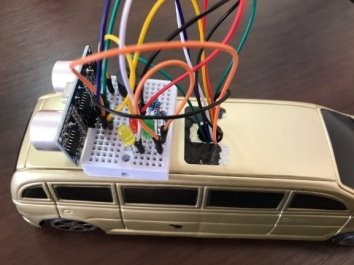
Place 6 LEDs on the breadboard. The LEDs will have a common minus. The cathode (short leg) is connected to the negative bus on the breadboard. Connect a 220Ω resistor to the long legs of the LEDs (anode). Install the ultrasonic sensor in the center (Figure 2).

Fig. 2. Ultrasonic sensor
We connect the wires to the legs of the parking sensor. Echo will connect to pin 13 and Trig to pin 12. GND to ground on the microcontroller board, and Vcc to the 5V pin on the Arduino. We also connect the wires to the legs of the resistors. And in series to pins of the Arduino from 2 to 7. The piezo speaker has two contacts plus (positive) and minus (negative). Negative terminal can be combined with a minus from the ultrasonic distance measurement. And connect the positive to pin 11 on the Arduino Uno board.
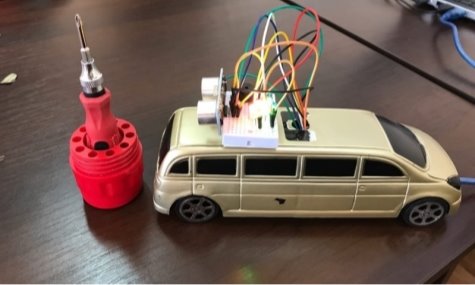
The final version of the model is shown in Figure 3.

Fig. 3. The finished model of parking sensors
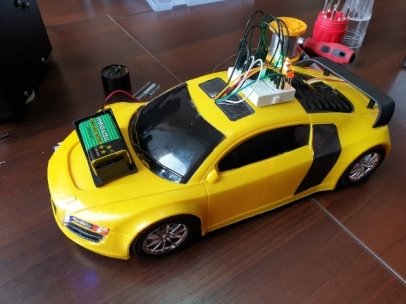
And later, an improved model of a car with parking sensors was created. A larger model was used, so the Arduino board was placed inside the case. In the places of the headlights, holes are made according to the size of the LEDs and thus the headlights are brought in, which can also be controlled. A crown was installed for the autonomy of the model. And also servo motors are installed to control the wheels (Figure 4).

Fig. 4. Improved Model
When creating this project, it was possible to consolidate the practical skills of using programming on the Arduino Uno board and theoretical knowledge. We also managed to create a parking sensor with advanced functionality based on Arduino.
Thus, Arduino is a hardware platform for device development, with an Input/ Output board and a simple development environment that allows you to create various devices with your own hands. It is a good tool for beginners and learning microcontrollers. Most devices can be assembled without even resorting to a soldering iron!
References:
- https://www.instructables.com/id/20-Unbelievable-Arduino-Projects/
- https://www.arduino.cc/

